Total Soul 2022
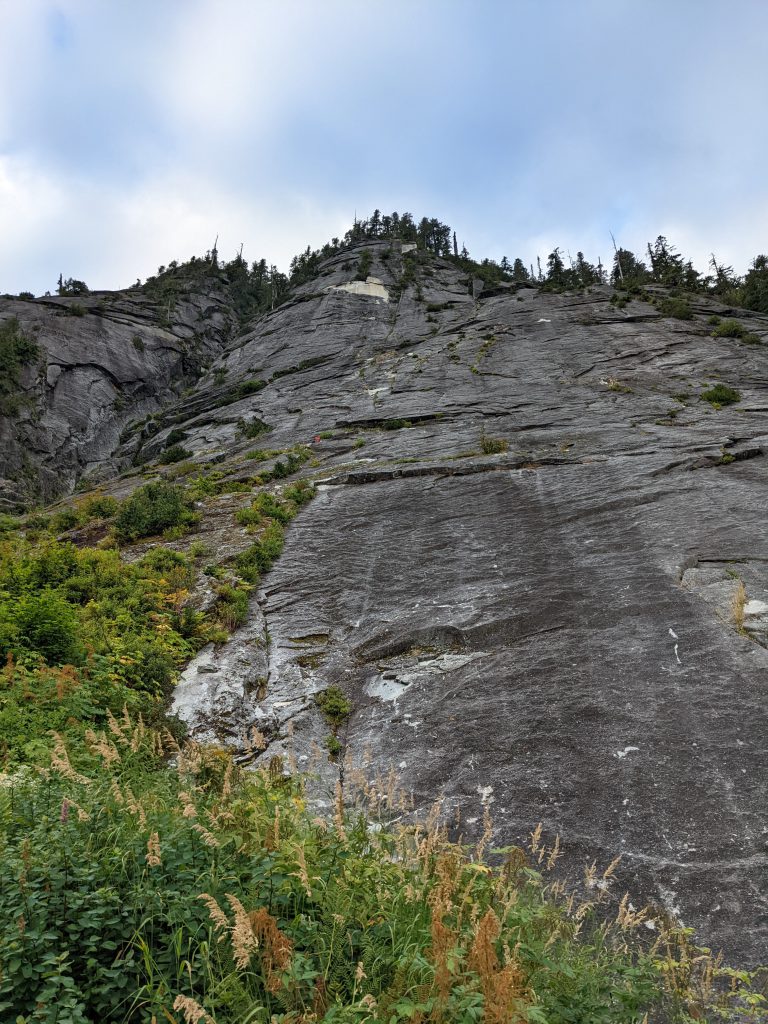
A challenging and sustained slab climb, decently well protected, pretty clean route! Bringing double ropes for the rappel was annoying though. Love the approach though! I got it clean except for one fall on P5. I surprised myself on getting some of the slabby moves!
Gear brought
- Singles #0.3-2 - Worked perfectly, used all of these cams at least once
- 13 draws (7 sport, 6 single alpine), would have been fine with 12 (one less alpine).
- No nuts
- 60m rope + extra 70m for rappelling
- Two double slings for anchors
- No walkie talkies - comms were perfect!
Timeline
- 4:55 AM - Driving
- 6:40 AM - Arrived
- 6:45 AM - Hiking (33 min hike)
- 7:18 AM - Base
- 7:36 AM - Climbing
- 12:44 PM - Top (5:08 hours climbing)
- 2:40 PM - Done rappelling (1:30 hr rappelling?)
- 2:50 PM - Walking out (25 min hike down)
- 3:15 PM - Car
Approach
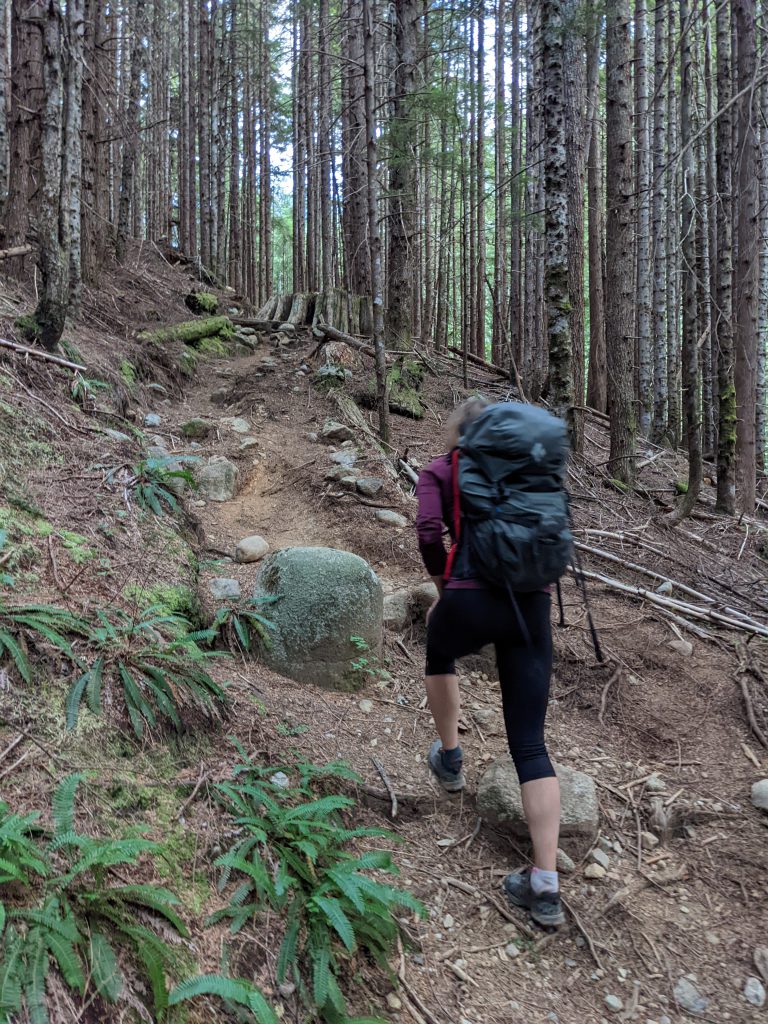
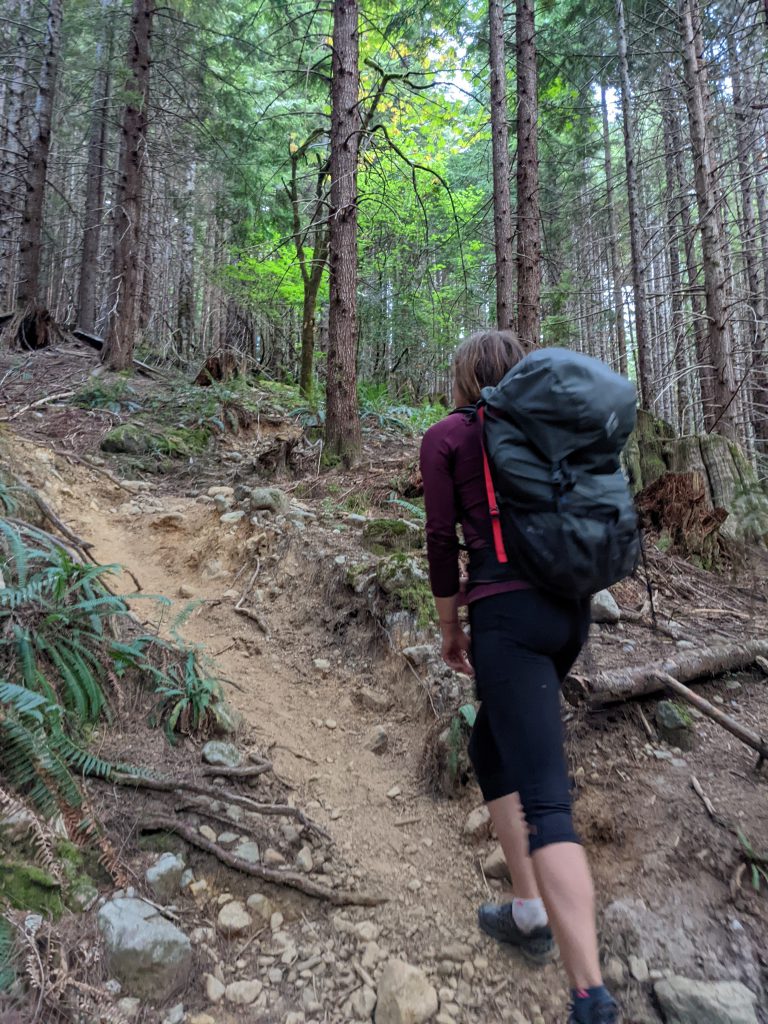
33 minutes, 1.4 miles, 906 ft gain. Love this mellow approach on a good trail!

Pitches
P1 - 5.6, 30m, 3 bolts
Climb a low angle short pitch past 3 bolts to a stance above a refrigerator block.
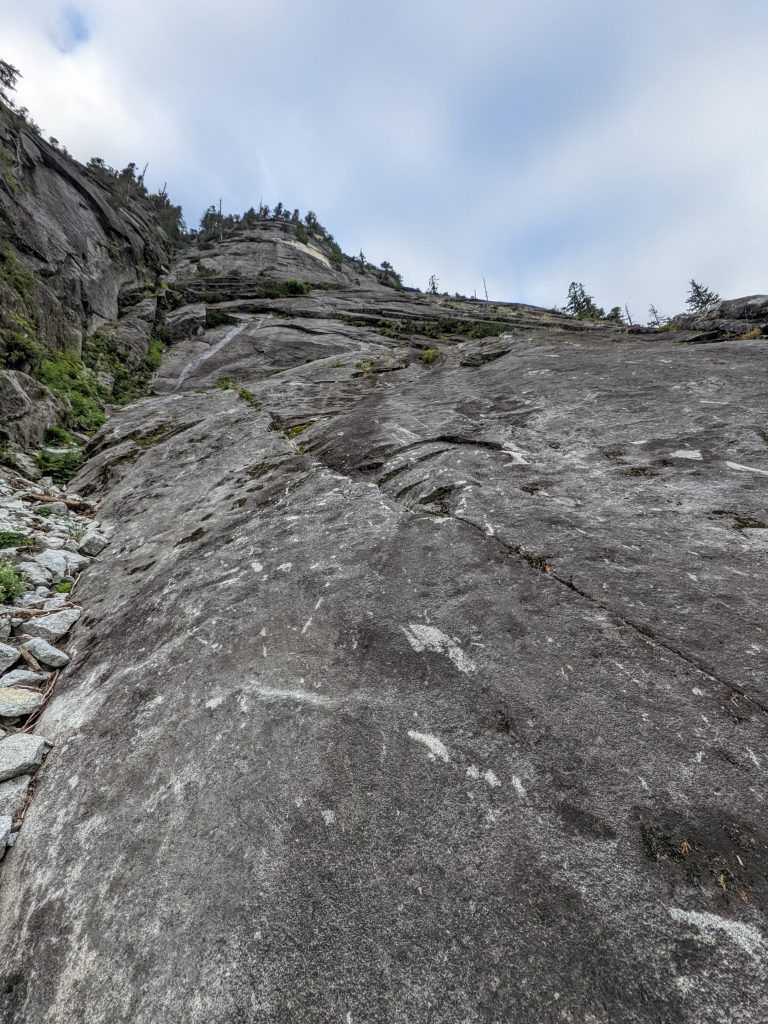

P2 - 5.9, ~45m, 4 bolts
Uses gear. Gear protected climbing past flakes leads you over a small roof to a few bolts and a slippery white dike.
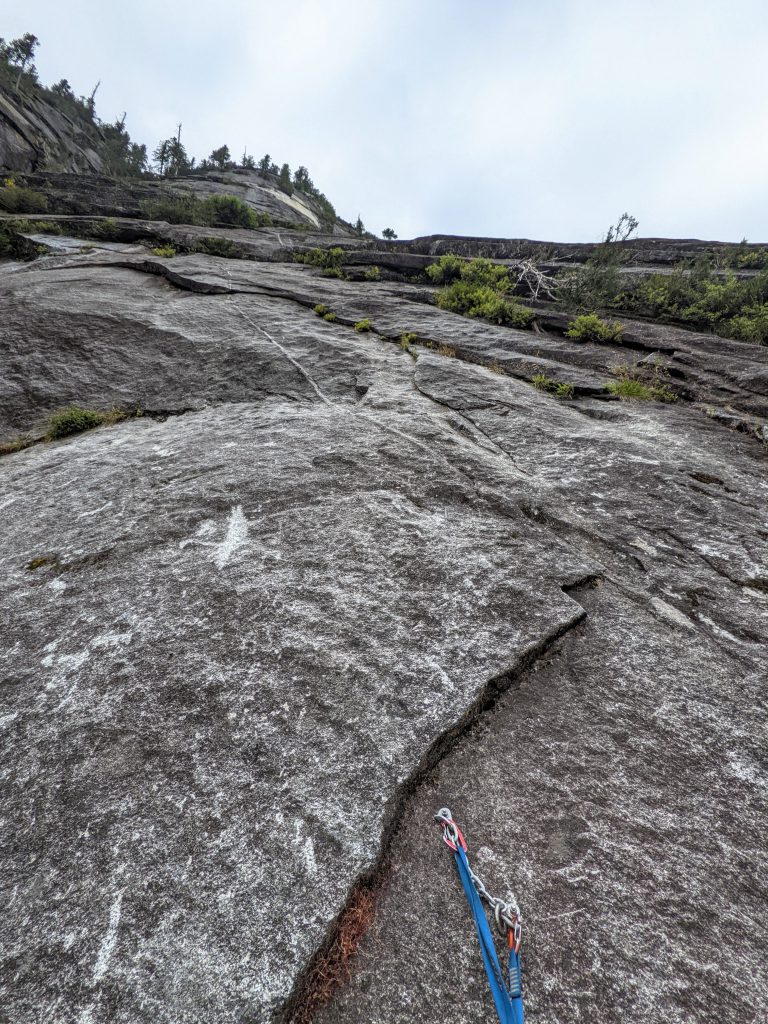

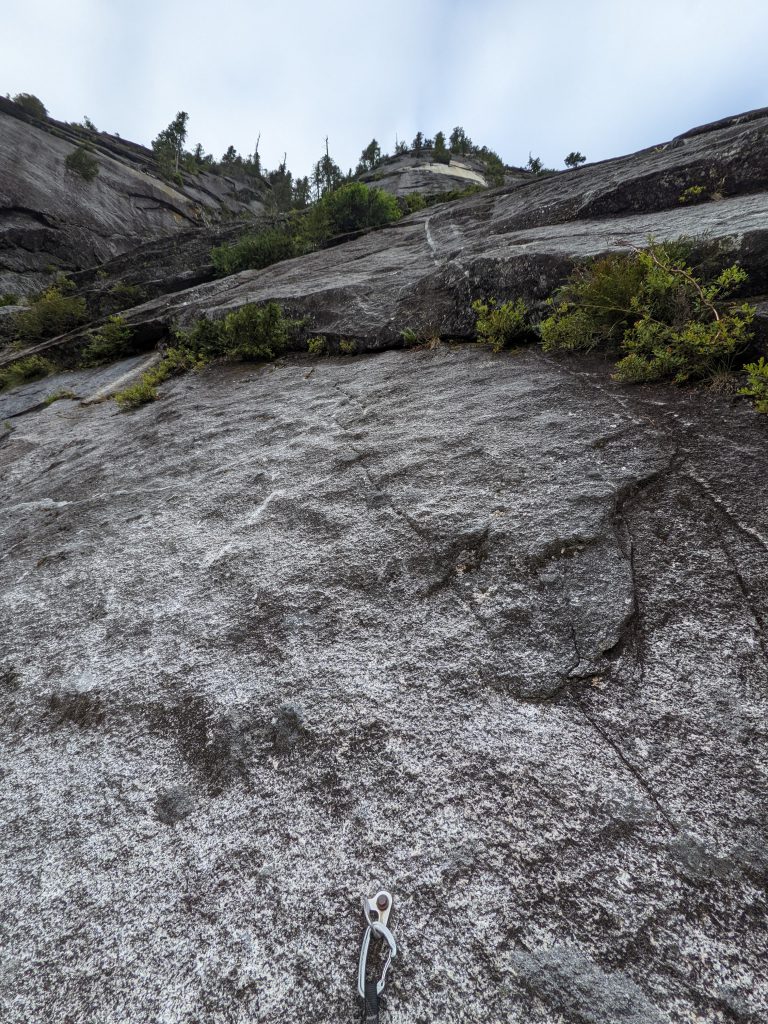
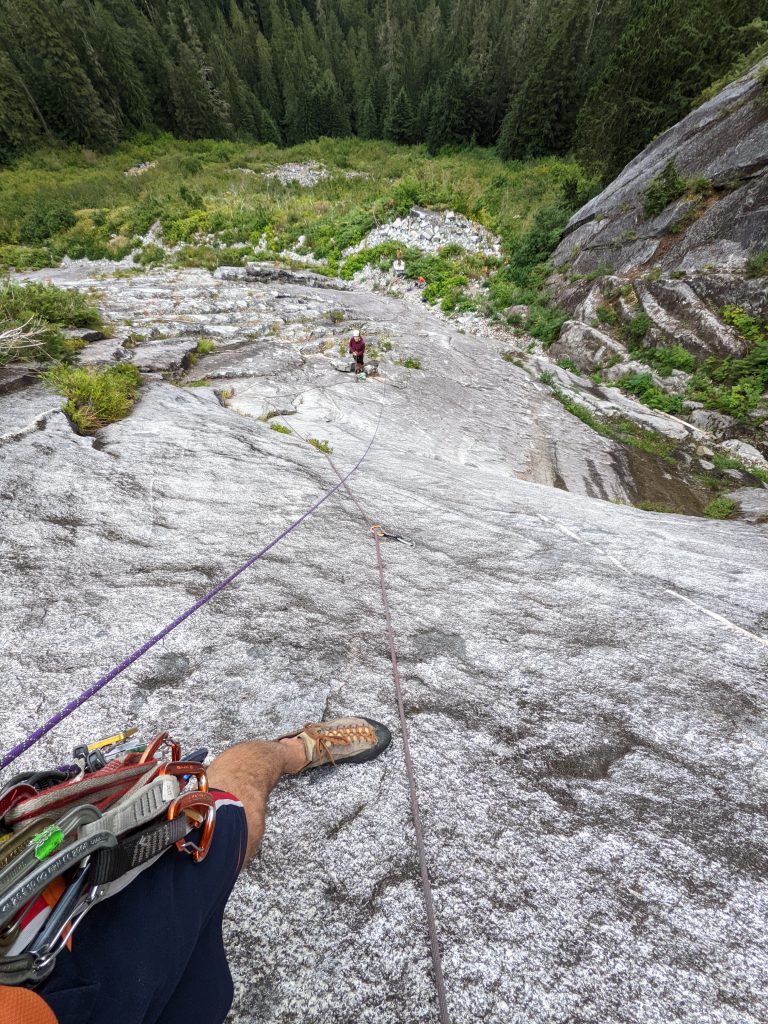
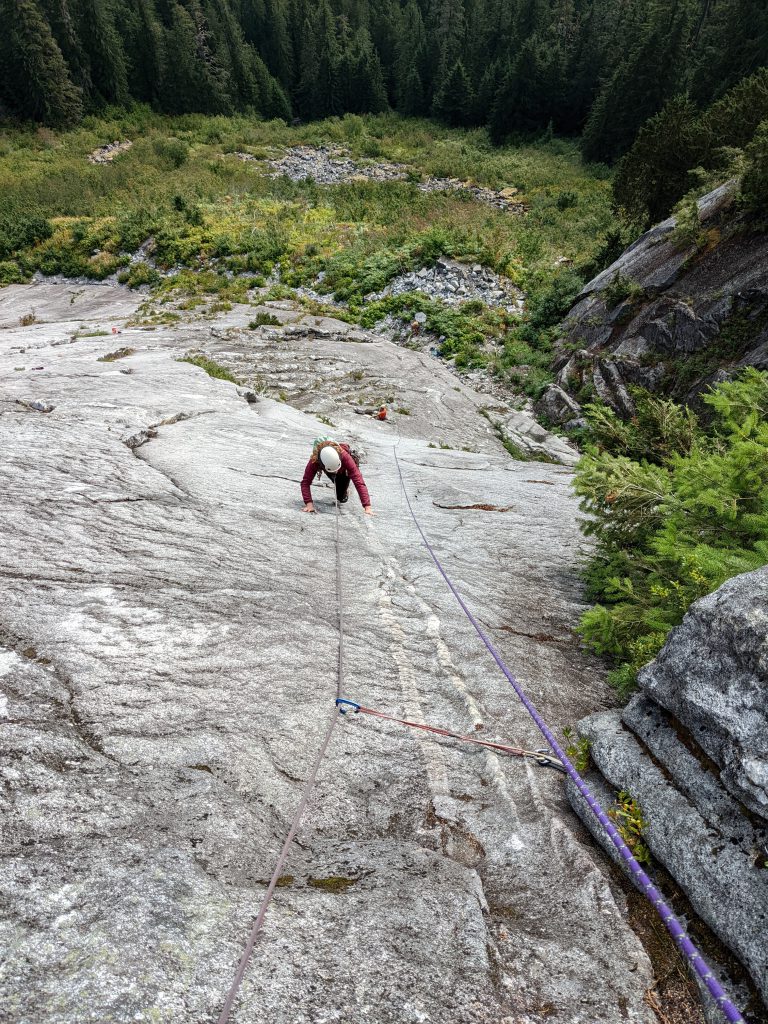
P3 - 5.8, 35m, 5 bolts
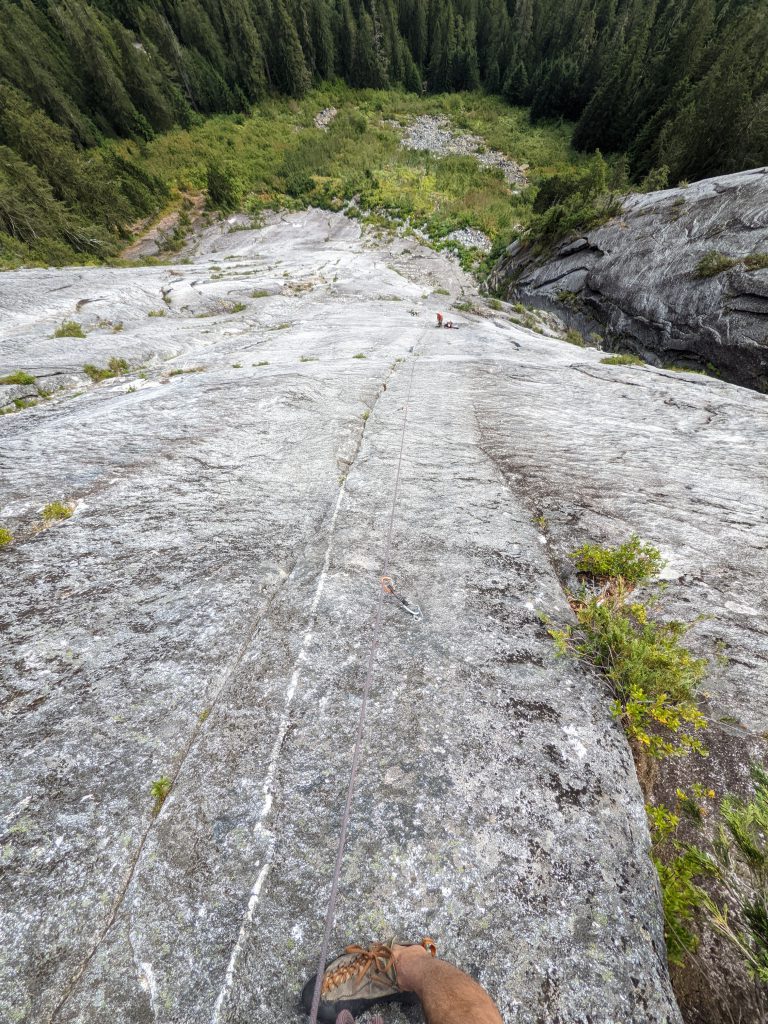
Step left at the belay and friction climb your way directly past 5 bolts.
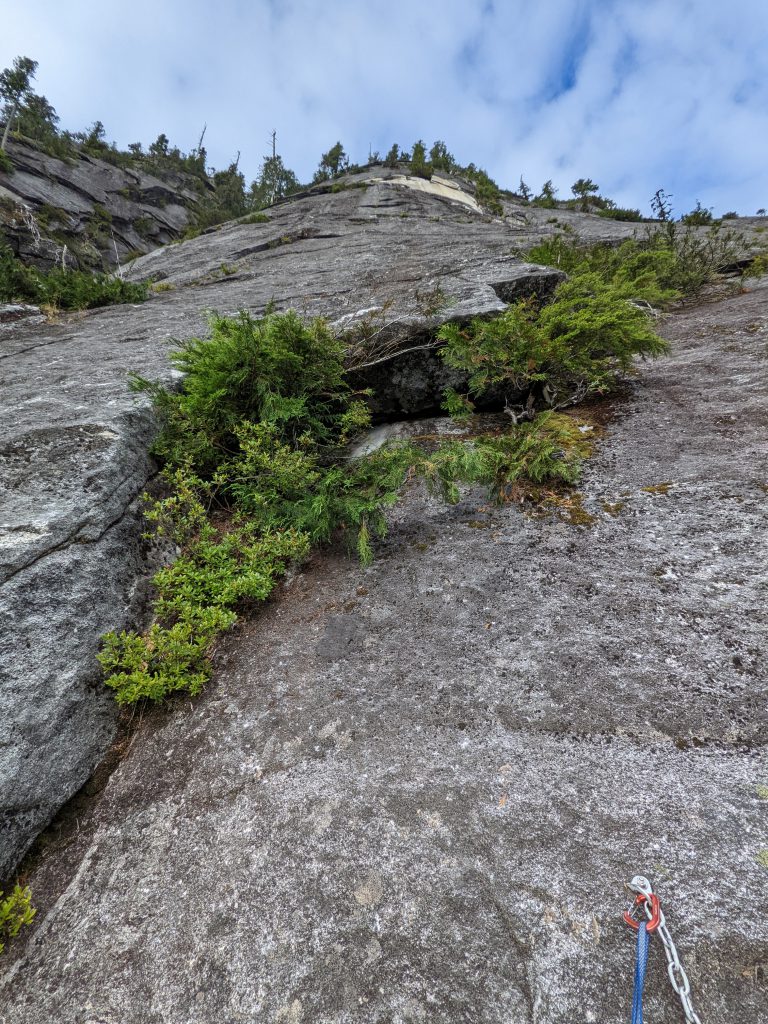


P4 - 5.9, ~45m, 6 bolts
Uses gear, save your #1 cam till near end of P4. Some friction moves lead to a long featured crack protected by bolts and gear. Super fun!
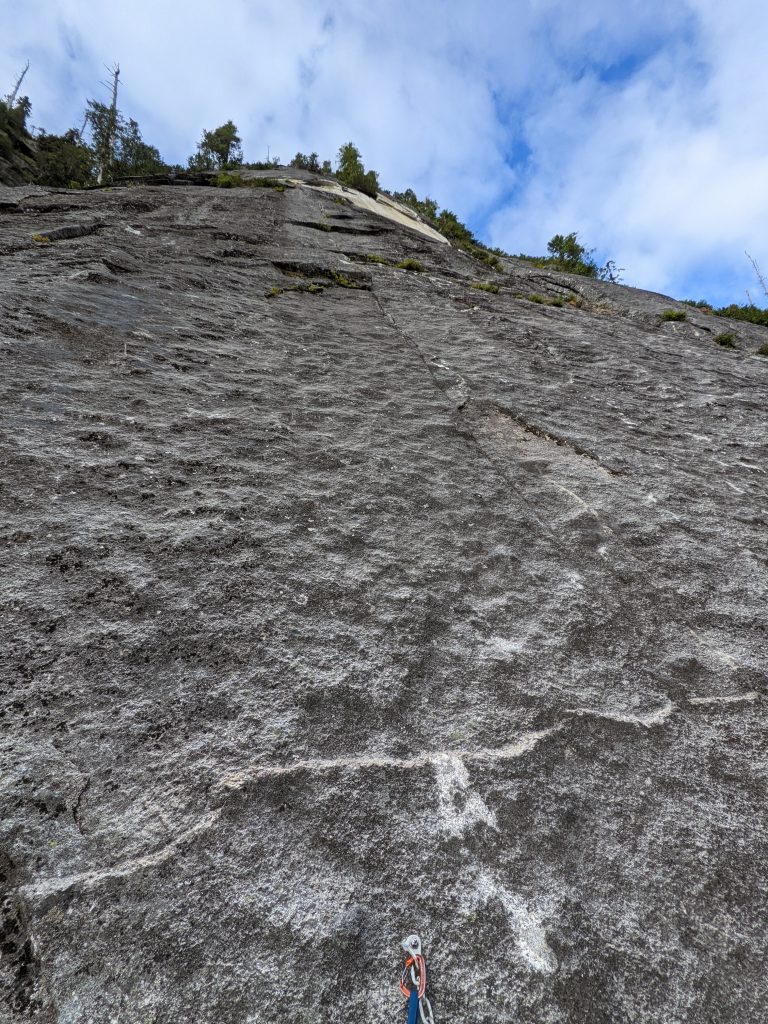

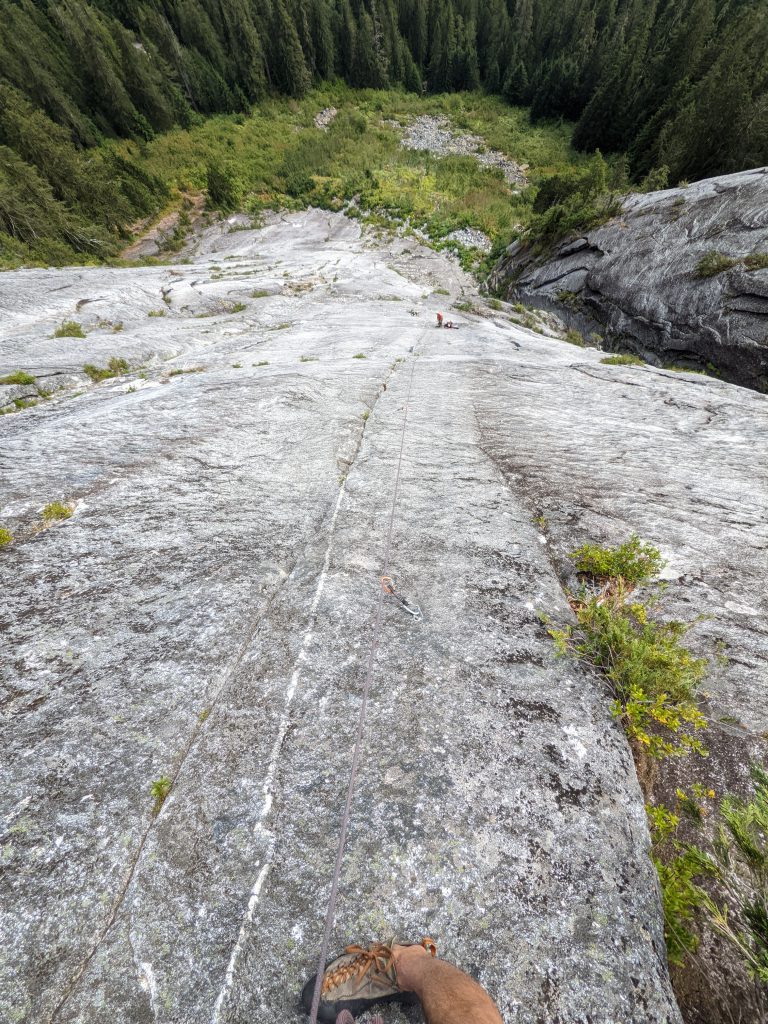
P5 - 5.10a, 35m, 8 bolts
I fell right at the first bolt on my first try! Undercling and friction climb your way to the second bolt then traverse left (easy ledgey traverse), follow more bolts over a small roof and through some fun flakes to a large and comfy ledge
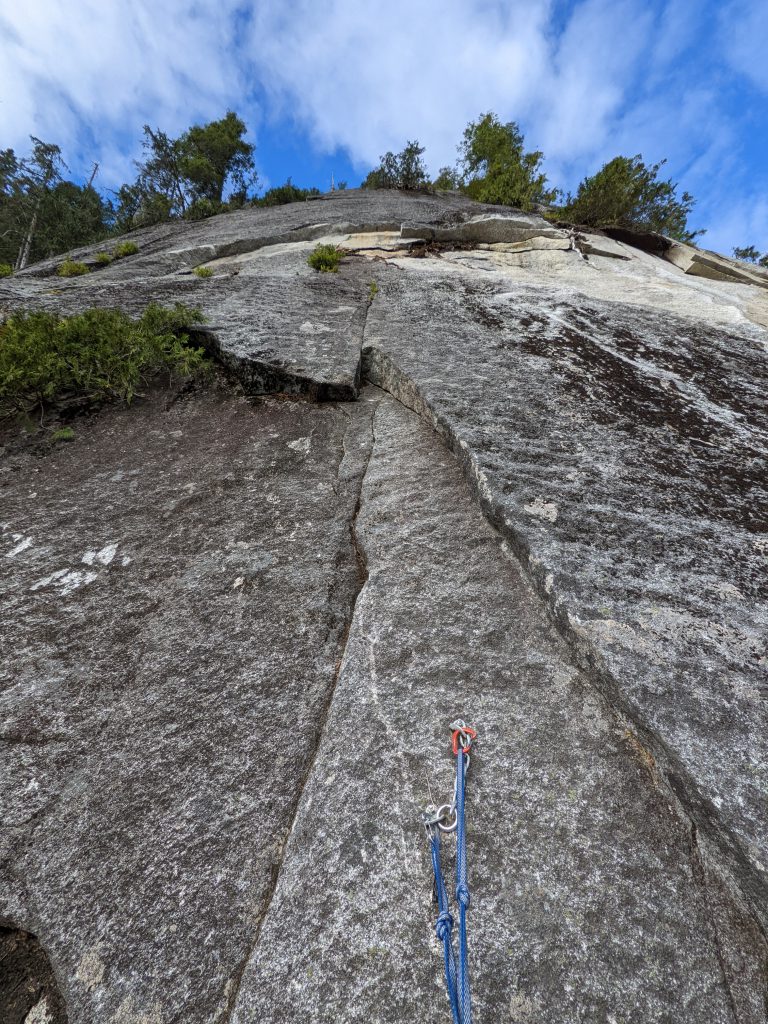

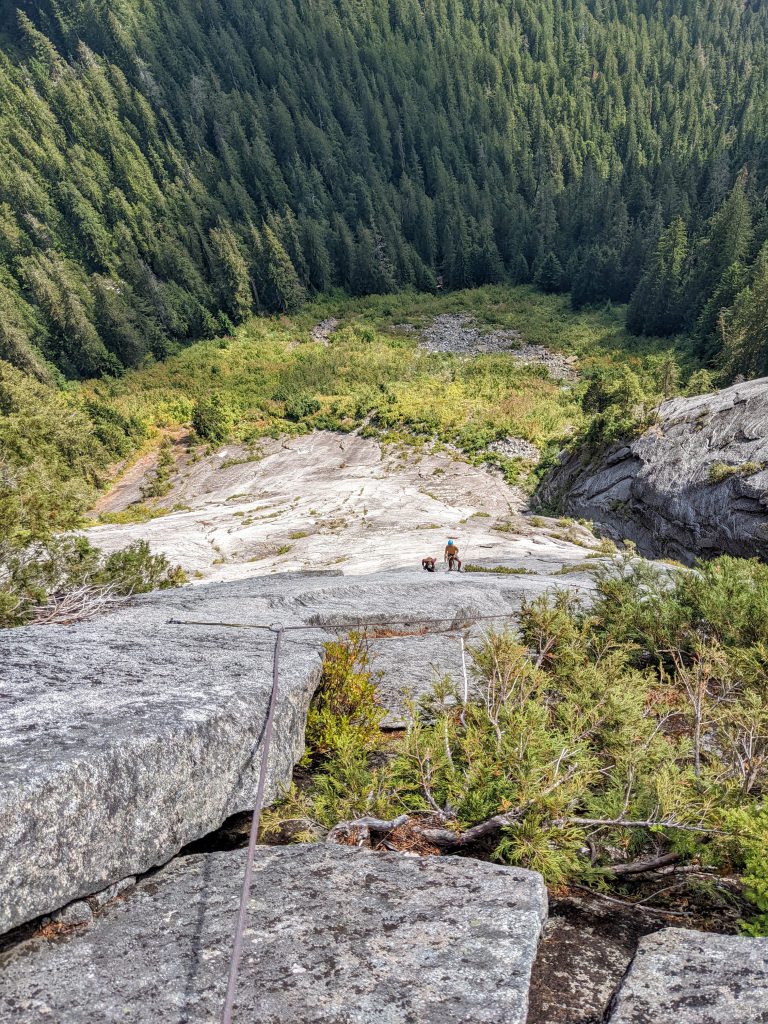
P6 - 5.10b, 40+m, 8 bolts
Climb a flake to more friction slab! Follow the bolts through a few roofs and a couple bouldery sequences. A very fun pitch.
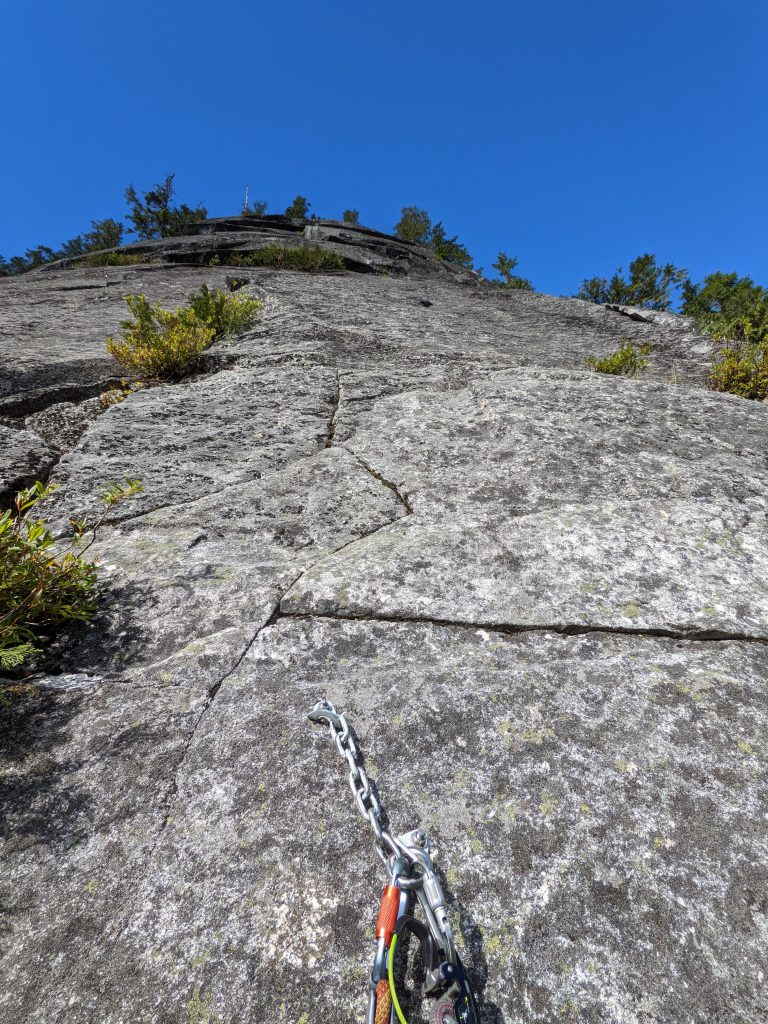

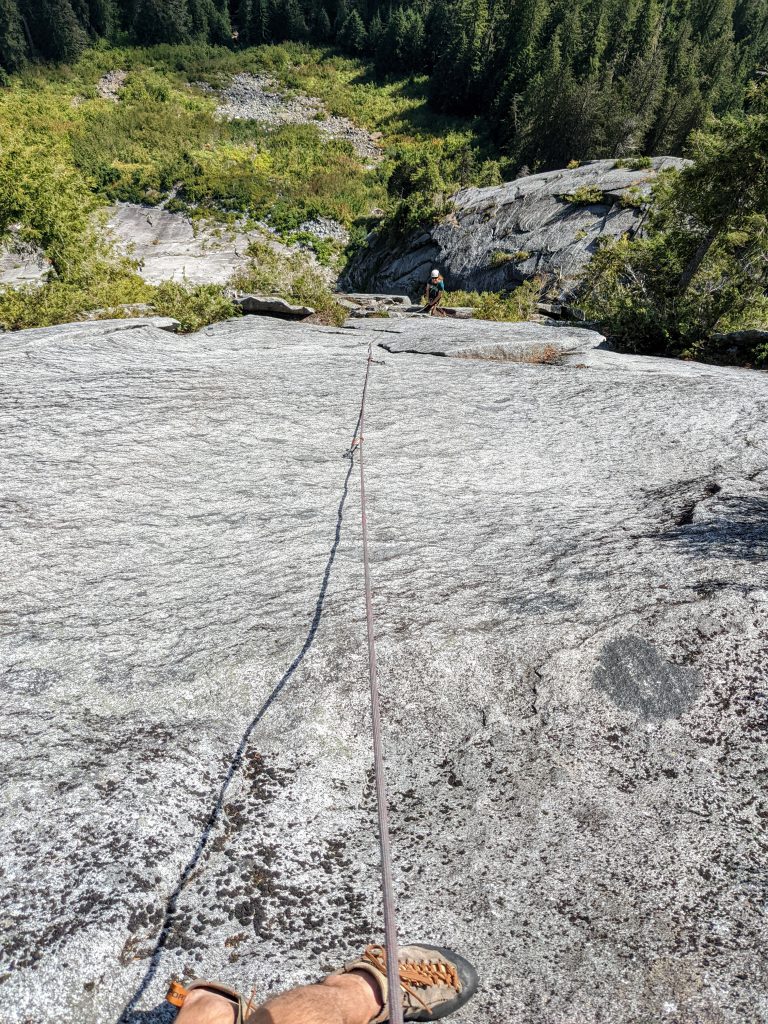
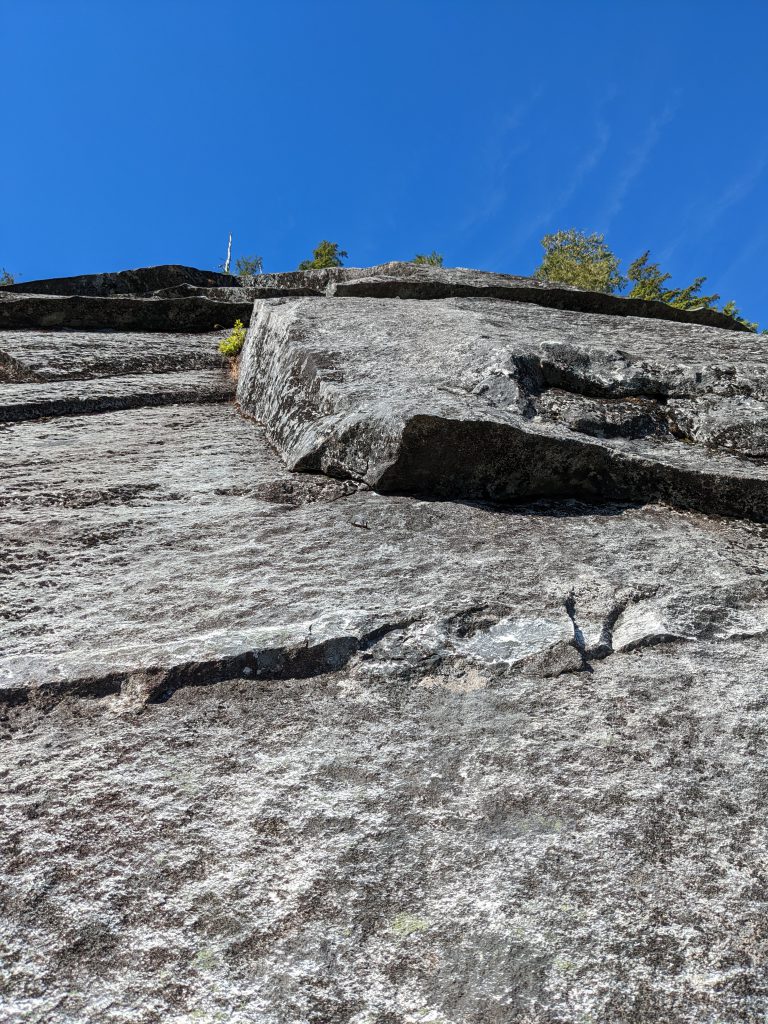
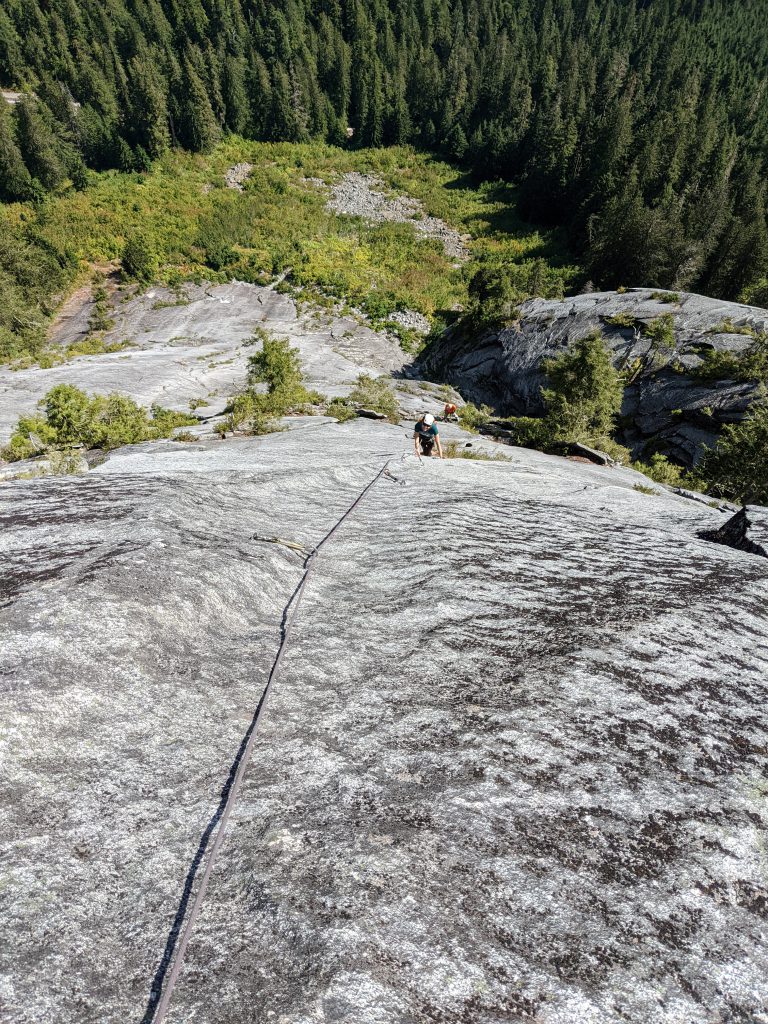
P7 - 5.8, ~45m, 5 bolts, pretty run out
Uses gear. Climb up and left from the belay to a bolt. Mantle over the roof and continue into the right facing corner. Keep trending up and left following bolts and corners until you reach two bolts connected by old webbing.
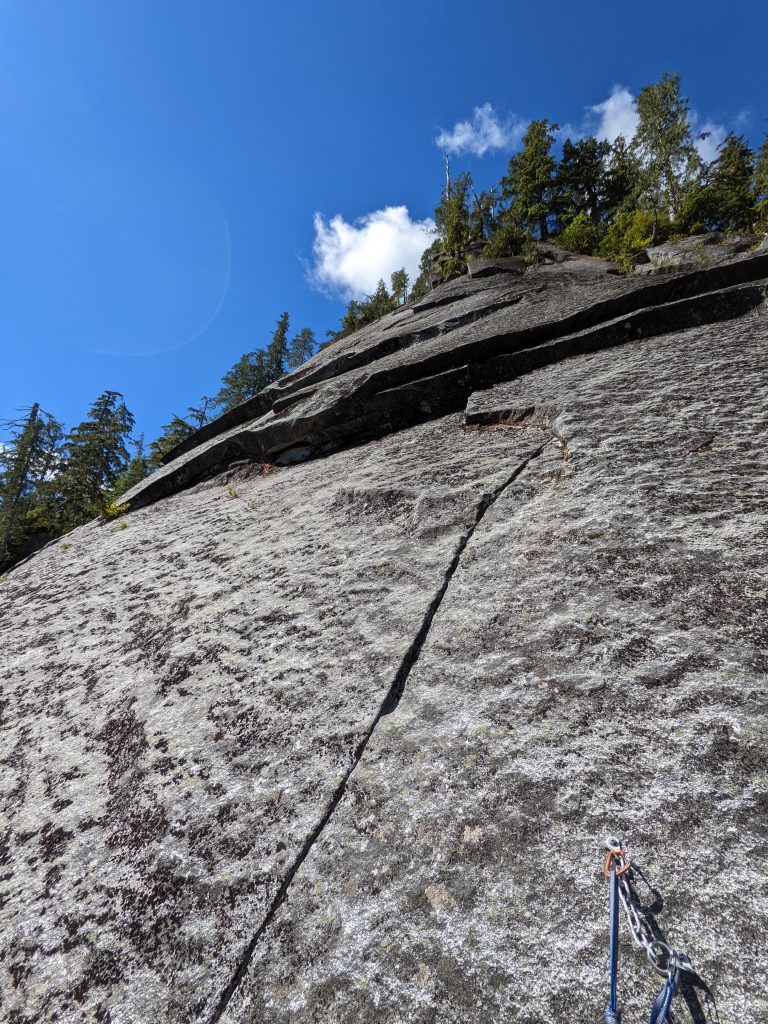

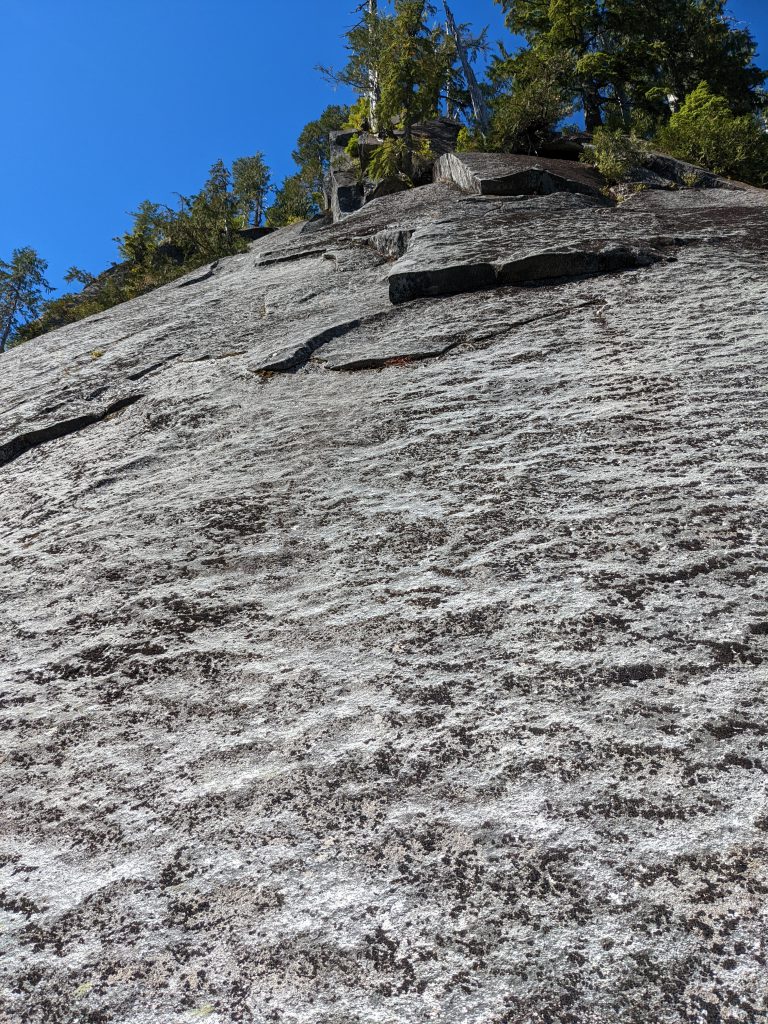
P8 - 5.10b, 28m, 6 bolts
A short, tightly bolted pitch. Go left from the belay and battle steep slopey knobs until you find yourself at the summit. Belay from the big tree.
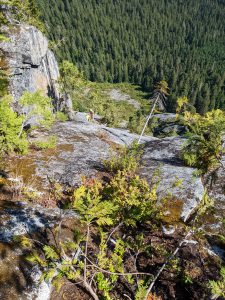
Top
There's actually nice spots to sit up top!
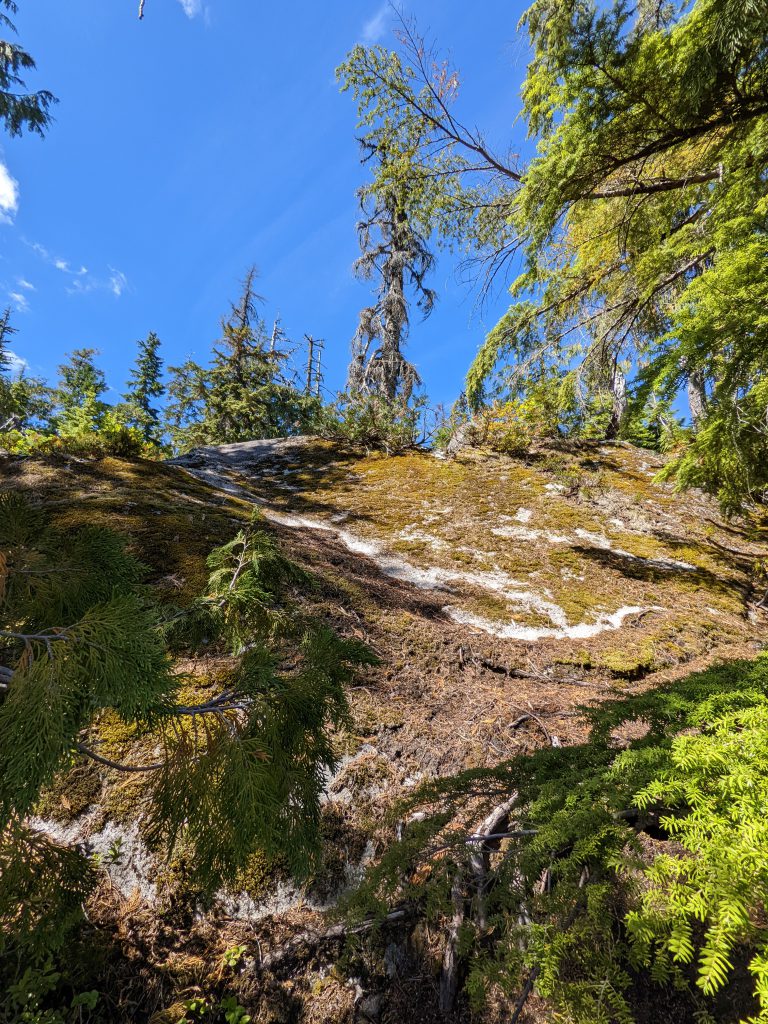
Descent
Two 60's or two 70's are required to rappel (several rappels are 40-45m).
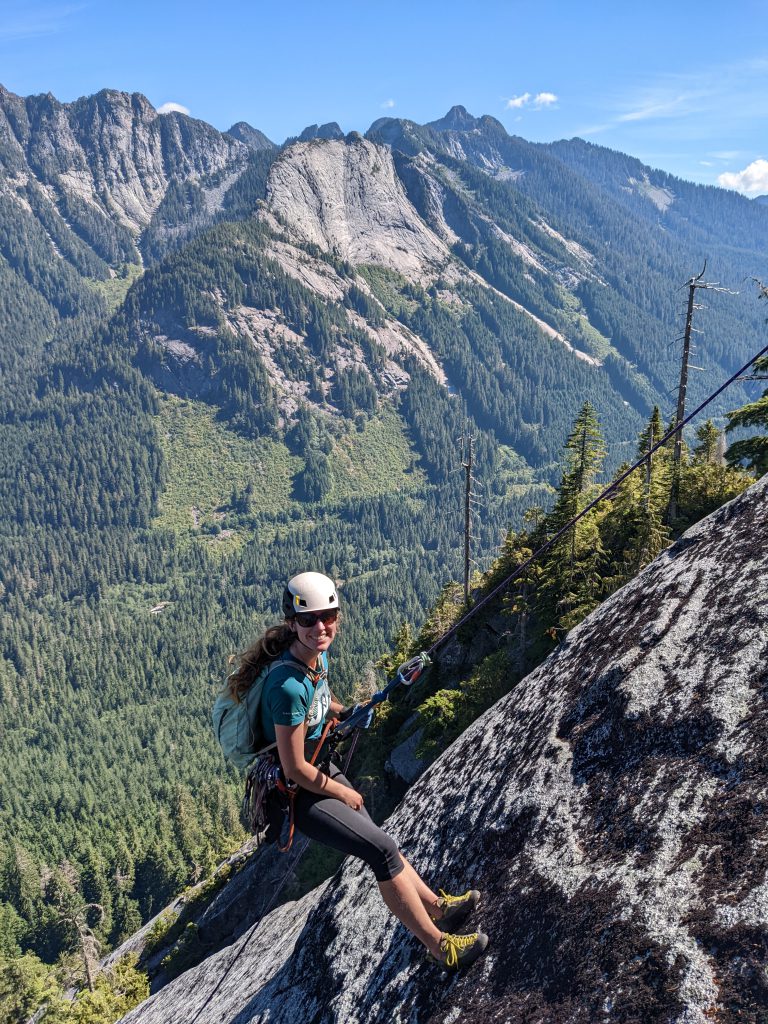
In order to avoid a slanting rappel (since P7 traverses a bit), the ideal rappel route is to scramble climbers right 10 feet from the top of P8 and then scramble bushwack downhill ~20 ft to the edge of treeline (kinda steep, butt slide down while self-belaying on bushes). On skiiers right, you'll find a bolted rap anchor on the cliff face on a nice ledge (there's also a tree that's slinged about 5 feet skiiers left, might as well use the bolted anchor though).
- R1 (~45m): Double rope rappel from bolted anchor at treeline to top of P6
- R2 (40+m): Double rope rappel P6
- **R3 (35m): **Single 70m rope rappel P5 (or double 60m)
- R4 (~45m): Double rope rappel P4 (if have double 70m, one person reported combining R4 and R5)
- **R5 (35m): **Single 70m rope rappel P3
- R6 (60m): Double rope rappel from P2 to gully (swing climbers left).